When you sign up for an account you are actually creating both a User (you) and a Company. Each company can have multiple users and your user will initially be set to be a Company Super Admin for your new company. This super admin account allows you to see and do all things related to your company including the ability to update the Company settings.
Lets get started with your Company Settings page:
- Navigate to "Settings->Company"
- Click "Edit" next to your company name
Company Details
Name
This field value will determine what the title bar of the application displays to the users as well as which company name will be included in email messages from the system. Set this to whatever you would like it to say.
![]()
Language
Set this to the default company-wide language to use.
![]()
Subscription
Account Level
Your current subscription level.
Update Credit Card Number
If you signed up using the Credit Card payment type, clicking this link will take you to a secure page where you can updated your credit card details.
Features
Email notifications when files are changed?
This setting controls whether or not the assigned user of a document will receive an automatic email notification when their document has changed into another state such as deleted. Turning this off will prevent these types of email messages from being sent. Note: this setting does not control the workflow notifications.
![]()
Restrict Document Creation to Administrators?
This option controls whether non-administrator level users can create a new document. If you set this to No, only admin-level users will be able to create new documents and normal users will only be able to update existing documents.
![]()
Use Simplified Document Details Page?
This option will control whether your normal user with view/download permissions will see a simplified version of the document details page. Certain fields will be hidden from the page when this option is enabled. Users that have write-permissions or greater will always see the full details. Defaults to No.
Company Defaults
Default User Permission
Most of the settings here come with sensible defaults but you may at any time change these settings if you so choose. One of the important settings we should look at is the Default User Permission option which looks like this:
![]()
By default we will set it to "Forbidden" for you. This is a good time to discuss the various permissions level used through-out the system:
- Forbidden - Not allowed to access, view, download, or edit
- View - Can "preview" the document (if it is a supported file type)
- Download - Can View + Download
- Write - Can View + Download + edit the document
- Admin - Can View + Download + Write + delete the document
So what we are saying here in this setting is "Every time a new document is added, by default, all users will inherit this Default User Permissions as their base access level". If for example you want every user in the system to be able to edit any document by default, you could change this to Write. This setting is just the base level permissions and it can be over-ridden by assigning specific user and group rights on a particular document which we will cover later.
Default Folder Permission
The system can be configured to limit access based on folder permissions. This company setting will be the default value in situations where there are no specific folder permissions on a particular folder. The Allow setting means that, by default, the user will be allowed to access any folder in the system unless explicitly forbidden at the folder level. A Forbidden value here is the inverse, and will deny access to users on any folders that are not explicitly allowed at the folder level.
![]()
Default Workflow (if used)
If your company is utilizing approval workflows you can optionally set this to the Workflow that will be pre-selected in certain parts of the application such as the New Document page and during a Simple Batch Import.
![]()
Branding
Sub-Domain
The sub-domain which will be associated with your company and pre-pended to the securedocman.com domain. For example, entering a value of “mytestcompany” here would result in the address of "https://mytestcompany.securedocman.com” being associated with your company and logo.
Logo
The logo image you would like to use for custom branding. The logo should be a PNG, GIF, or JPG less than 1MB in size, and should have the dimensions of 200x45 pixels.
Automated Backups
Please refer to our Automated Backups document.
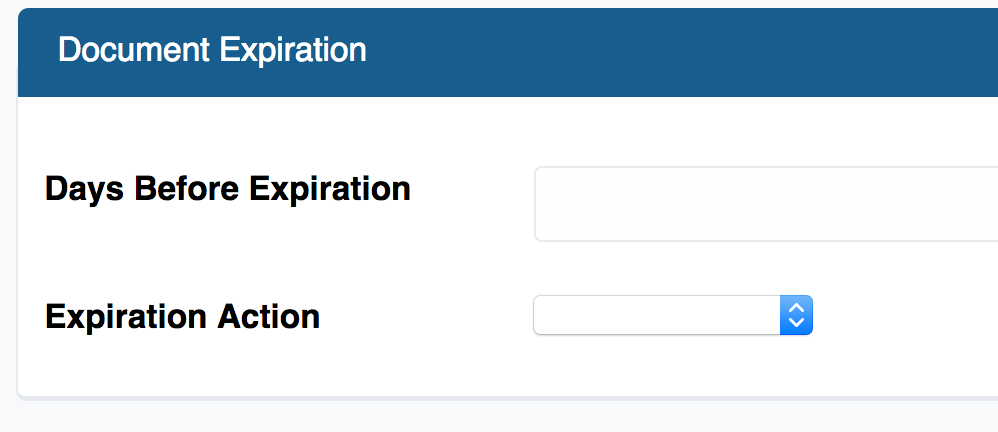
Document Expiration
If you would like to utilize automated document expiration you will configure this section appropriately. The Days Before Expiration will contain a whole number which represents the number of calendar days in which documents in your company will live before automatically expiring. Leave empty to disable the document expiration feature on a global level. The Expiration Action determines what action will be taken when a document expires:
- email: Email the assigned user of the expiration
- hide: Just un-publish the document, no email
- email_and_hide: Perform both actions
- Unset: Leave unset to do nothing upon expiration
Custom Document Metadata Fields
This section will allow you to add custom data fields to your document meta-data so that you can add to the base meta-data that is captured with each Document record. For example: if you wanted to add a text box that would allow the user to enter in a special document code number. Take a few minutes and play with the various field types to get a hang for it. Some will allow you to pre-populate the field with options and allow you to choose a default value. Click the New Document Metadata Template to get started.
Note: "Text" meta-data fields that contain only a valid URL as the content will be output as a clickable link to the URL. This can be helpful for linking outside resources to a document, or linking other documents inside the system to a document.

Security
Whitelisted IP Addresses
The Whitelisted IP Addresses option is optional but allows you to limit the Internet addresses which normal users come from to login to your company. This could be useful if you only allow your users to login while physically on-location. If you do not require this feature just leave it blank.
| <<< Previous (Introduction) | Next (Working With Documents) >>> |
0 Comments